What if you could run your Flipper Zero without ever touching it? See its screen on your monitor, press its buttons with your keyboard, grab screenshots for a tutorial, or script entire backup routines from a terminal. Qflipper gives you two powerful ways to do exactly that: a visual remote control with live screen streaming, and a command-line interface built for automation.
Most people install Qflipper for firmware updates and never look further. That is a shame, because remote control and the CLI are the features that turn the app from a simple updater into a genuine power tool. This guide shows you how both work and when to reach for each one.
Qflipper Remote Control: Your Flipper on the Big Screen
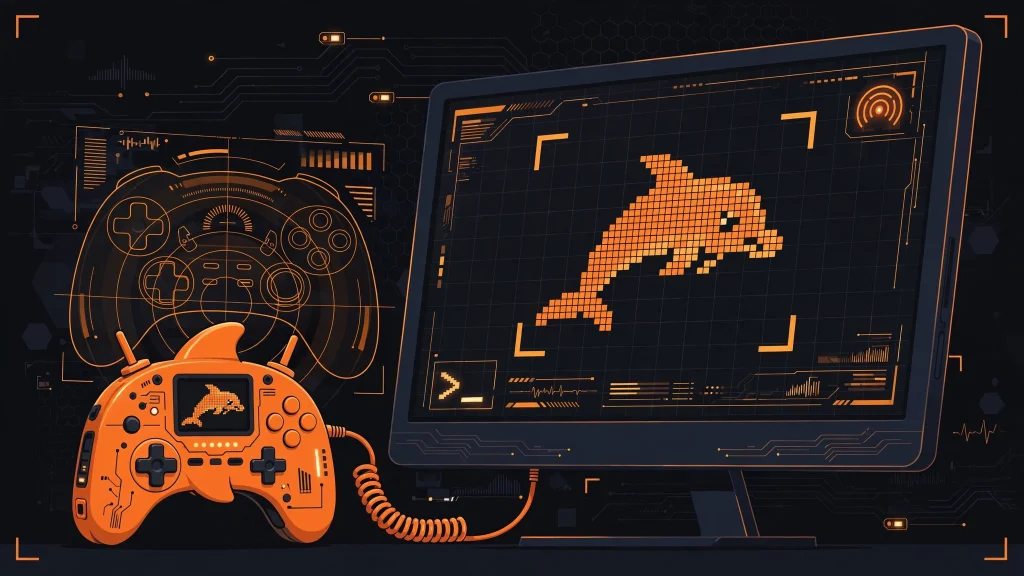
Remote control streams your Flipper Zero’s display to your computer in real time. You see exactly what the device shows, and you can interact with it: click the on-screen buttons with your mouse or use your keyboard to press the Flipper’s buttons. It feels surprisingly natural, like the world’s smallest remote desktop.
Why would you want this? Plenty of reasons. Writing a tutorial is far easier when you can capture each step on a big screen. Debugging a misbehaving app is simpler when you can watch the screen while poking at it. And if your Flipper’s buttons are wearing out, or the device is mounted somewhere awkward, remote control keeps it fully usable.
How to Start a Remote Control Session
You need Qflipper installed and your Flipper Zero connected over USB with a data cable. Then:
- Step 1: Open Qflipper and wait for your device to appear.
- Step 2: Go to the Device information tab.
- Step 3: Click the image of the Flipper Zero. The live screen stream starts immediately.
- Step 4: Click the on-screen buttons, or just use your keyboard. Arrow keys map to the directional pad, Enter acts as OK, and Backspace works as the Back button.
The stream runs over the same USB connection, so latency is low enough for comfortable navigation. Menus, apps, settings: everything you can do on the device, you can do through the stream. When you are done, simply close the view or navigate away from the tab.
Taking Screenshots With Qflipper
While the remote control view is open, look for the SAVE SCREENSHOT button. One click captures the Flipper’s current screen and saves the image directly to your PC. No phone camera, no glare, no crooked angles.
This is the feature tutorial writers dream about. Every screenshot comes out pixel-perfect, which makes your guides look professional instead of cobbled together. It is equally useful for bug reports: when something goes wrong, a clean screenshot attached to your forum post at forum.flipperzero.one gets you help far faster than a paragraph of description. Developers maintaining apps also use screenshots for documentation and changelogs. Once you start using it, you will wonder how you managed before.
Meet the Qflipper CLI
The graphical app is friendly, but sometimes you want precision, repeatability, or no GUI at all. That is what the Qflipper CLI is for. It is a command-line version of the app’s core functions: backups, restores, firmware operations, reboots and more, all scriptable.
You will find the CLI bundled with every Qflipper installation:
- Windows:
<Program Files>\qFlipper\qFlipper-cli.exe - macOS:
qFlipper.app/Contents/MacOS/qFlipper-cli - Linux:
./qFlipper-*.AppImage cli
On Linux, note the extra cli argument after the AppImage name. That tells the AppImage to run the command-line tool instead of launching the graphical interface.
CLI Commands Worth Knowing
The CLI keeps things focused. Here are the commands you will actually use:
- backup <directory>: creates a .tgz backup of internal storage in the given folder
- restore <directory>: restores a backup from the given folder
- reboot: reboots the connected Flipper Zero
- format: formats the device storage (be careful with this one)
- erase: erases firmware for recovery scenarios
- firmware <file.dfu>: installs firmware from a .dfu file, useful for recovery
- core2radio / core2fus: low-level radio stack operations. Warning: these can invalidate the secure enclave, so only run them if you understand the consequences
A few flags modify behavior: -c selects the update channel, -d enables debug output, and -v prints the version. Run the CLI with no arguments at all and it performs a quick update and repair pass, which is a neat trick for a one-line device health check.
Automating Backups and Updates With Scripts
Here is where the CLI earns its keep. Because every operation is a command, you can wrap them in scripts and schedules. A simple weekly backup is just one line in a cron job or Task Scheduler entry pointing at backup with your backup folder. Managing a classroom or hackerspace full of Flippers? Loop over the commands and update every device identically, with zero clicking.
Combine the CLI with the -d debug flag when you are building scripts, so you can see exactly what happens at each step. And always test a new script against a backup you can restore. Automation is wonderful until it automates a mistake across ten devices.
Logs: Your Best Friend When Things Go Wrong
Both the remote control and the CLI write detailed logs, and Qflipper keeps the last 100 sessions. Click the LOGS button in the app, then OPEN FULL LOG to get the complete .txt file for the current session. When remote control refuses to start, or a CLI command fails cryptically, the log usually names the exact cause: a busy serial port, a permission problem, a cable issue.
Get into the habit of checking the log before asking for help. And when you do ask, on the forum at forum.flipperzero.one, attach the relevant log section. The regulars there can diagnose most problems from a few lines of log output, and you will get your answer in hours instead of days.
Remote Control or CLI: Which Should You Use?
They solve different problems:
- Remote control is for interactive work: tutorials, demos, testing apps, navigating menus, taking screenshots. If a human needs to see and touch, use the stream.
- The CLI is for repeatable work: scheduled backups, batch updates, headless servers, scripting. If a machine should do it the same way every time, use commands.
Many workflows use both. Script the boring parts with the CLI, then hop into remote control to verify the result visually. That combination covers nearly everything you will ever need to do with a Flipper Zero from your PC.
Pro Tips for Smoother Remote Sessions
A couple of habits make remote control noticeably nicer. Close bandwidth-hungry apps on your PC before starting a stream, since the screen data shares your USB connection with everything else running. If the stream ever freezes, disconnect and reconnect the cable rather than restarting Qflipper; that fixes it nine times out of ten. And when you are capturing screenshots for a guide, set your Flipper to a consistent theme and brightness first, so every image in your tutorial matches. Small touches, but readers notice.
Conclusion
Qflipper’s remote control and CLI turn your computer into a proper command center for the Flipper Zero. Stream the screen for tutorials and testing, capture pixel-perfect screenshots, and automate the repetitive jobs with a handful of commands. Install the app, plug in over USB, and start exploring. Your Flipper has been waiting for a bigger screen.
Read next: How to Back Up and Restore Flipper Zero With Qflipper, Qflipper Not Detecting Flipper Zero? Fix It Here, What Is Qflipper? The Official Flipper Zero Desktop App