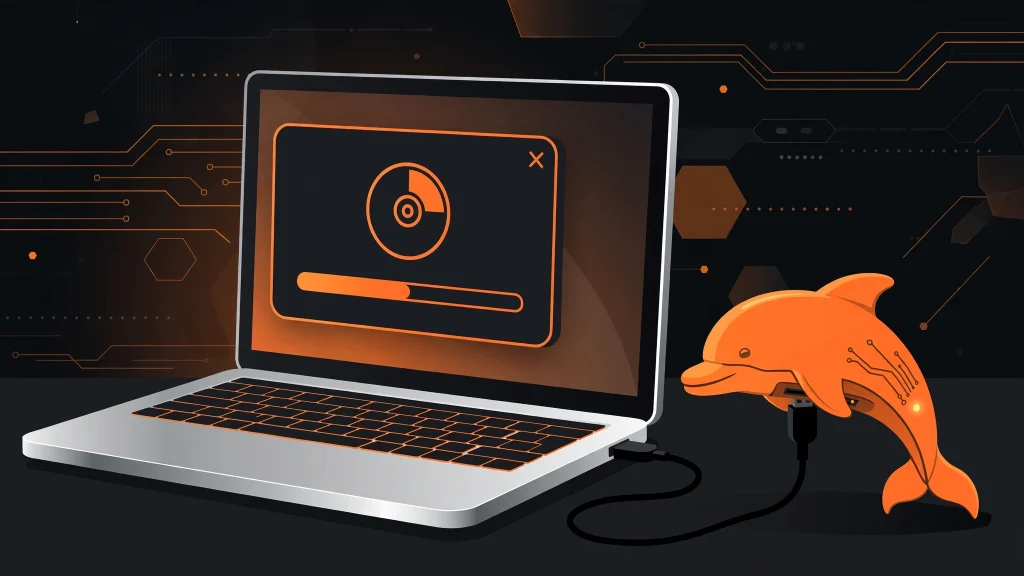
Qflipper runs beautifully on the Mac. There is an official build for macOS 10.14 and later, optimized for Apple Silicon (M1, M2, and newer) as well as Intel Macs, and the whole install takes just a few minutes. This guide covers downloading the right .dmg, installing it, connecting your Flipper Zero, and sorting out the small macOS quirks (like Gatekeeper) that can get in the way.
Qflipper macOS Requirements
Before downloading, make sure your setup qualifies:
- macOS 10.14 (Mojave) or later. Anything from Mojave up through the latest macOS release works.
- Intel or Apple Silicon. The official .dmg is optimized for M1 Apple Silicon, and it runs on Intel Macs too, so you do not need to hunt for separate builds.
- A data-capable USB-C cable. MacBooks only have USB-C ports, and many USB-C cables out there are charge-only. If Qflipper cannot see your Flipper, the cable is suspect number one.
- A microSD card in the Flipper Zero. Firmware databases live on the card, so updates need it inserted.
- Your Flipper Zero, powered on and reasonably charged.
Downloading Qflipper for Mac
Get Qflipper only from the official source at update.flipperzero.one. The latest official stable release is version 1.3.3. Download the macOS .dmg file and save it to your Downloads folder. Skip any third-party sites offering the app: unofficial repackages are not trustworthy, and there is no “pro” or “cracked” version of Qflipper because the real one is already free and open-source (GPLv3).
Installing Qflipper on macOS, Step by Step
- Step 1: Double-click the downloaded .dmg file. macOS mounts it and opens a window showing the Qflipper app icon next to an Applications folder shortcut.
- Step 2: Drag the Qflipper icon onto the Applications folder shortcut. That copies the app to your Applications folder. Eject the disk image afterward.
- Step 3: Open Qflipper from Applications (or Launchpad/Spotlight). On the first launch, macOS Gatekeeper may warn that the app is from an unidentified developer or downloaded from the internet.
- Step 4: If Gatekeeper blocks it, do not double-click again. Instead, right-click (or Control-click) the Qflipper app in Applications, choose Open, and then click Open in the dialog. macOS remembers this choice, so you only do it once.
- Step 5: If the app still will not open, go to System Settings (or System Preferences) > Privacy & Security, and look for a message about Qflipper being blocked near the bottom. Click “Open Anyway” and confirm.
- Step 6: Connect your Flipper Zero to the Mac with your data-capable USB-C cable. Qflipper should detect it within seconds and show the device information screen.
On Apple Silicon Macs, everything runs natively thanks to the M1-optimized build, so you will not need Rosetta and you will not notice any translation lag.
Connecting Your Flipper Zero on a Mac
Once Qflipper is open and the Flipper is plugged in, the device information tab shows firmware version, hardware revision, and storage details. That is your confirmation that USB communication works.
A good first move is a backup. Head to the Advanced controls tab, click BACKUP, pick a folder on your Mac, and click BACKUP again. Qflipper saves a .tgz archive of internal storage (dolphin level, XP, settings, pairing data). Note that microSD contents are not included in the backup, so copy any important card files to your Mac separately. Our backup and restore guide walks through the whole process.
Troubleshooting Qflipper on macOS
Mac installs are usually smooth, but here is what to check when something misbehaves:
- Device not detected: try a different USB-C cable first (charge-only cables are the classic trap), then a different port. If you are using a USB-C hub or dongle, plug the Flipper directly into the Mac instead.
- Gatekeeper keeps blocking the app: use the right-click > Open method described above rather than double-clicking. The Privacy & Security pane’s “Open Anyway” button is the fallback.
- Qflipper opens but shows no device: make sure the Flipper Zero screen is on and unlocked, and close any other app that might be holding the USB serial port (including the Flipper mobile app if it is paired nearby).
- Permission prompts: macOS may ask for permission to access USB accessories or removable volumes. Approve these, or Qflipper cannot reach the device or the microSD card.
- Outdated app: Qflipper updates itself automatically, but if you installed it ages ago from somewhere unofficial, delete it and reinstall from update.flipperzero.one.
First Things to Do After Installing Qflipper on Your Mac
With the Flipper Zero connected and showing up in Qflipper, take ten minutes for a proper first session before changing anything:
- Note your current firmware version on the device information screen. If it matches the latest Release, you are already up to date and there is nothing to fix.
- Run a backup from the Advanced controls tab and save the .tgz somewhere sensible like Documents. This protects your dolphin level, XP, settings, and pairing data.
- Copy important microSD files to your Mac using the file manager tab. Qflipper’s backup covers internal storage only, so anything on the card needs a manual copy.
- Look at the update channels in Advanced controls. Release is the stable, tested firmware and the right pick for everyday use. Release-Candidate is in final testing, and Development is rebuilt with every code commit and can be unstable.
Using Qflipper’s Key Features on macOS
Installation is just the doorway. Here is what Mac users typically do with Qflipper week to week:
- Firmware updates: connect over USB, open Advanced controls, pick the Release channel from the dropdown, and click Update. Keep the microSD card inserted, since firmware databases live on it.
- File management: drag and drop files between your Mac and the microSD card, or right-click a folder and choose Upload here. The shortcuts are Cmd+L to upload and Cmd+D to download.
- Remote control: on the device information tab, click the Flipper Zero image to open a live screen stream. Click the on-screen buttons or use your keyboard, and hit SAVE SCREENSHOT to capture the display to your Mac. Handy for tutorials.
- Logs: if anything ever misbehaves, the LOGS button followed by OPEN FULL LOG exports a .txt of your recent sessions. The Flipper forum regulars can usually diagnose a problem from that file alone.
All of these work identically on Intel and Apple Silicon Macs, so the guides elsewhere on this site apply no matter which Mac you own.
Keeping Qflipper Updated on macOS
Qflipper handles its own updates, so you do not need to re-download the .dmg every time a new version appears. Just launch the app occasionally while online and let it do its thing. The 1.3.3 stable release is current at the time of writing, and staying on the official auto-updating build is the easiest way to remain compatible with new Flipper Zero firmware.
Conclusion
Installing Qflipper on macOS is a quick job: download the official .dmg from update.flipperzero.one, drag the app to Applications, clear the one-time Gatekeeper prompt with right-click and Open, and plug in your Flipper Zero with a real data cable. The M1-optimized build runs natively on Apple Silicon, and automatic self-updates keep you current. From there, back up your device and start exploring firmware updates and the file manager.
Read next: What Is Qflipper? Complete Guide | How to Update Flipper Zero Firmware with Qflipper | Qflipper File Manager Guide